Choosing the perfect transfer tank for your needs
When looking into buying a new tank it can be hard to know what things to consider before making a purchase. Here’s a list of
28-30 Papagni Avenue, Newton | 48 Tiver Road, Evanston South | 526 Waterloo Corner Rd, Burton
OPEN 7 DAYS
Giving the kids their own garden space can be an amazing way to introduce them to gardening. Whether it is as small as a single pot or as large as their own raised garden bed (at a kid sized height). Once you’ve given the kids their space there is a range of activities you can do to get them engaged and teach them about plants and the natural world. Here’s a couple ideas to get you started.
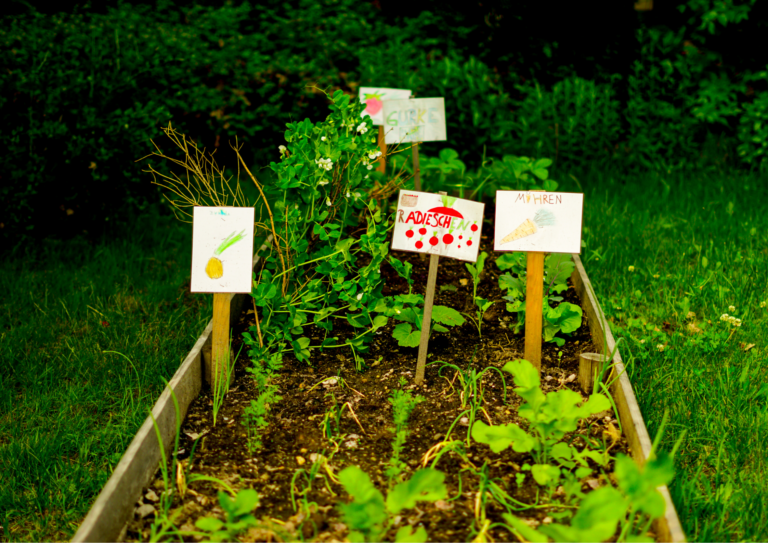
Making garden markers is a great way to get the kids interested in your garden. All you need is popsticks and some other general craft supplies. The best part about this activity is that it also serves the practical purpose of labelling the plants in your garden.

Materials Needed:
Instructions:
Prepare the Pop Sticks:
Gather the pop sticks you’ll be using for the garden markers. You can use plain wooden sticks or coloured ones, depending on your preference. Make sure the sticks are clean and dry before starting.
Decorate the Sticks:
Let the kids get creative by decorating the pop sticks using waterproof markers or acrylic paint. They can paint solid colours, create patterns, or draw pictures related to the plants they’ll be labelling. If desired, add stickers, buttons, beads, or other decorations to the markers. Use a hot glue gun to attach them securely.
Label the Markers:
Once the paint or markers have dried completely, use alphabet stickers or a waterproof marker to write the names of the plants on the markers. Alternatively, you can use waterproof markers to handwrite the labels directly onto the sticks.
Place in the Garden:
Once the markers are fully dry, place them in the garden next to the corresponding plants. Insert the bottom end of each marker into the soil near the base of the plant, ensuring they are secure and visible. As the plants grow, the markers will help identify each variety and add a fun touch to your garden space.
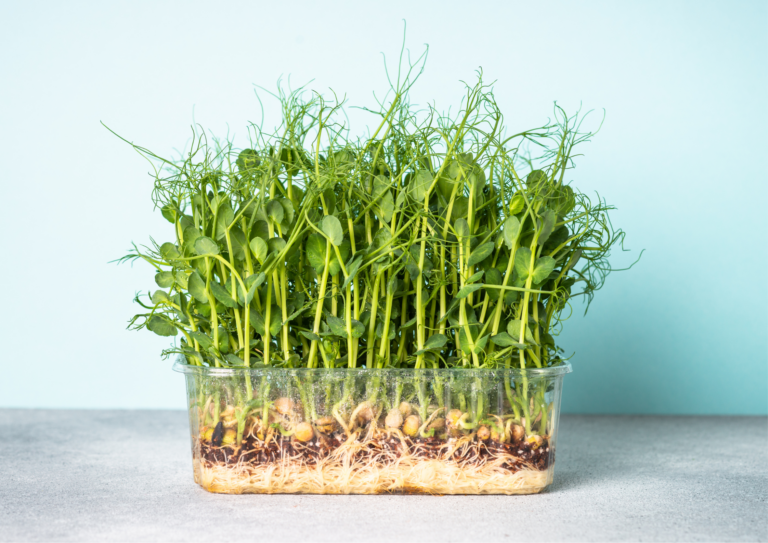
Growing microgreens is an awesome way to introduce kids to the process of growing plants, from seeds all the way through to harvest. They’re contained, easy to grow and shoot up fast to keep up with kids’ short attention spans.

Materials:
Instructions:
Prepare the Containers:
Fill the shallow trays or containers with potting soil or seed starting mix. Make sure there are drainage holes in the bottom to prevent waterlogging.
Sow the Seeds:
Sprinkle the microgreen seeds evenly over the surface of the soil. You can either scatter them or sow them in rows, depending on your preference. Gently press the seeds into the soil using your fingers or a small piece of cardboard. This helps ensure good seed-to-soil contact for germination.
Watering:
Water the soil thoroughly using a watering can or spray bottle. Make sure the soil is evenly moist, but not waterlogged.
To prevent disturbing the seeds, use a misting spray bottle to water gently if needed.
Placement:
Place the trays in a sunny location, such as a windowsill with at least 4-6 hours of sunlight per day.
Care:
Have the kids check the soil moisture daily and water to keep it consistently moist. Avoid overwatering, as this can lead to mold or rot.
Encourage kids to monitor the growth of their microgreens and record any changes they observe.
Harvesting:
Microgreens are ready to harvest when they have developed their first set of true leaves, usually within 1-2 weeks after sowing.
Using scissors, carefully cut the microgreens just above the soil level. They can be harvested all at once or harvested selectively as needed. Once harvested, rinse the microgreens gently under cold water to remove any soil particles.
Microgreens can be used fresh in salads, sandwiches, smoothies, or as a garnish for various dishes. Let the kids get creative with how they incorporate their homegrown microgreens to get them excited about their meals too.
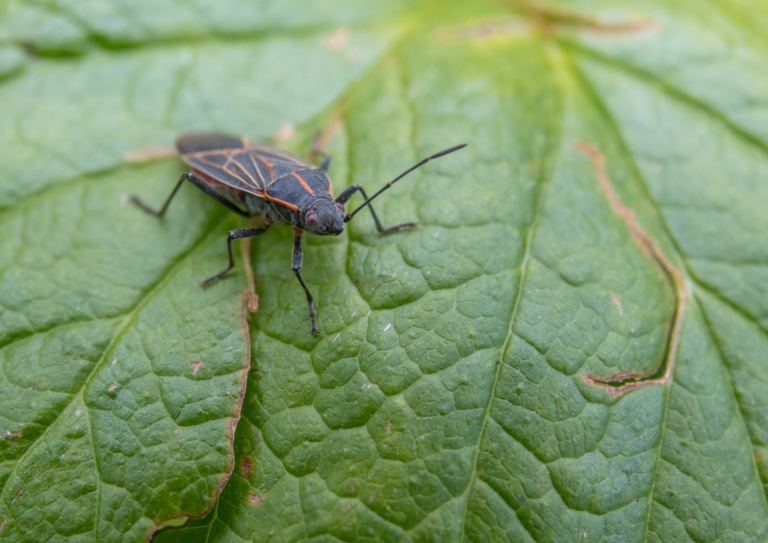
Building a bug box is an interesting way to teach kids about insects and the natural world. A bug box or bug hotel is simply a container with an opening for bugs to get in and a viewing window to see them through. You fill this container with different things that make up the bugs natural habitat and watch as they come!

Materials:
Instructions:
Prepare the Box:
Start by cutting out one side of the box, leaving a couple of centimetres of cardboard around the edges to create a viewing window. If the lid of the box is separate, you can use it to check the bug box between uses.
Decorate the Box:
Let the kids get creative! They can decorate the outside of the box with coloured paper, textas, or stickers.
Create Bug Habitat:
Place natural materials like leaves, twigs, grass, and small stones inside the box. These will provide hiding spots and comfortable environments for the bugs. Make sure there’s enough space for bugs to move around.
Go Bug Hunting:
Take the bug box outside and let the kids explore! Encourage them to catch bugs gently using nets or small containers. Remind them to handle the bugs with care and to release them back into nature after observation.
Observe and Learn:
Once they’ve caught some bugs, place them inside the bug box. Encourage the kids to observe the bugs closely, noting their behavior, movements, and physical characteristics.
Release the Bugs:
After observing the bugs, it’s important to release them back into their natural habitat. Teach the kids about the importance of respecting and protecting nature.
Related Products.
Expert advice from the Newton’s crew, ask away.
Copyright © 2022 Newtons Building & Landscape Supplies all rights reserved | Term & Conditions | Privacy Policy
Newtons Building and Landscape Supplies has a huge range of products for tradies, builders, and DIY enthusiasts. From sand, metal, and rubble to cement products and masonry blocks, we have everything you need for your building or renovation project.
Discover the benefits of Hebel, the high performance building product made from Autoclaved Aerated Concrete (AAC). Newtons Building and Landscape Supplies are proud to stock Australia’s only manufacturer of AAC by CSR Hebel. Experience the durability and versatility of Hebel blocks and panels for your next construction project.
Newtons Building and Landscape Supplies is your one-stop-shop for irrigation needs. Our range includes rural and domestic irrigation products and systems, poly pipe, sprinklers, valves, irrigation controllers, poly fittings, and more.
Newtons Building and Landscape Supplies have a huge range of landscape garden supplies available. From mulches and ground covers, fertiliser, turf to compost, soil and loam, we have it all. With over 6000 products so you can be sure that we have everything you need to build the perfect home and garden.
From patio pavers to garden edging, Newtons Building & Landscape Supplies has you covered. Our Adelaide paving centre offers a massive range of products, including modern and traditional sleepers for retaining walls and more.
Newtons Building and Landscape Supplies has everything you need for rainwater tanks, pumps, pump repairs, and drainage solutions. We sell top brands like Maxiplas, Amari, Bushmans, Team Poly, and more. Our expert staff can help you choose the right product for your needs. We also offer custom-engineered sump and pump packages for hassle-free installation.
Explore the best professional-grade tools and safety equipment at Newtons Building and Landscape Supplies. We stock a wide range of high-quality tools and safety equipment for professionals and DIY enthusiasts. With specialised tools for bricklaying, concreting, landscaping, plastering, and tiling, we have the right tool for every job.
hop the best artificial turf, instant lawn, and fertiliser supplies at Newtons Building and Landscape Supplies. Our range includes a variety of options to suit your needs, from natural-looking synthetic grass to lush, green instant turf. We also stock a range of accessories to make installation a breeze.
Looking for purified water in your home? Newtons Building and Landscape Supplies offer a range of water filter systems to suit your needs. Choose from undersink filter systems that turn your existing tap into a filter tap or whole house systems for chemical-free water throughout your home.

When looking into buying a new tank it can be hard to know what things to consider before making a purchase. Here’s a list of