Essential Tools for Effortless Gardening
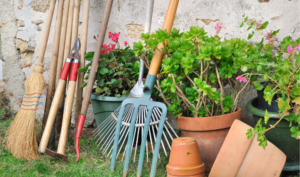
Looking to fill up your garden shed but not sure where to start? We’ve compiled a list of five essential tools you’ll need for your
28-30 Papagni Avenue, Newton | 48 Tiver Road, Evanston South | 526 Waterloo Corner Rd, Burton
OPEN 7 DAYS
Starting your first paving project can be a daunting process, you’ve got the pavers and you’ve pulled up your yard but how do you get them down and looking great? Luckily it can be broken down into a few easy steps; with a few tools and a bit of time, your outdoor area can be transformed literally from the ground up.
Prepare the site: Excavate the designated area for paving to accommodate the base layer (typically 100 – 150mm thick of road base), bedding sand (generally 30mm thick coarse washed river sand), and the thickness of the pavers. Ensure proper falls and levels using a spirit level on the screed board. Spread the road base evenly and compact it using a mechanical plate compactor.
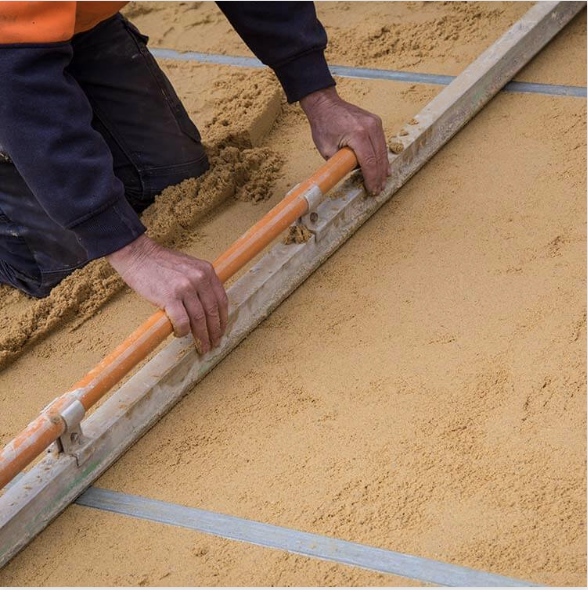
Level the surface: Embed the screed rails into the bedding sand and drag the screeding board in a sawing motion across the rails to establish a firm, flat surface.

Set the lines: Position string lines at right angles to establish paving lines for straight joints, ensuring a professional finish.
Begin laying: Commence laying along the longest straight edge of the area, starting with whole pavers. Maintain 3-5mm gaps between pavers for jointing sand, unless the pavers have nibs.
Cut pavers: Cut and place part-pavers as needed, ensuring edge restraints are in place to prevent movement.
Fill the joints: Sweep jointing sand over the dry paving, ensuring all joints are filled.

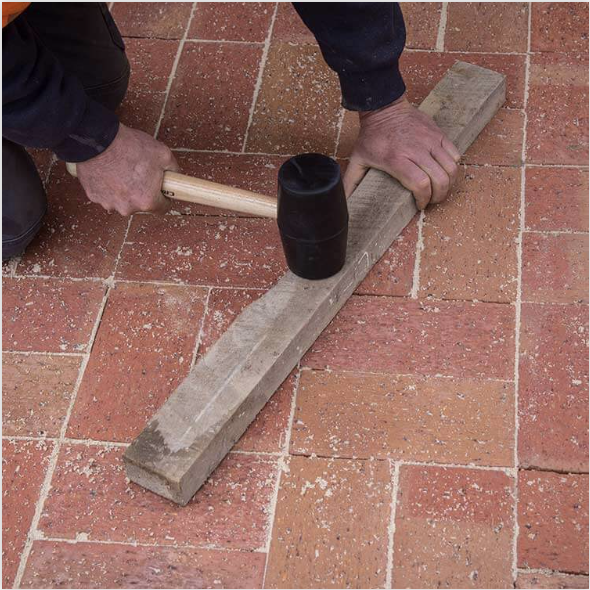
Finishing touches: Compact the surface using the appropriate technique:
If you need assistance with your next paving project come see the team at Newtons Building and Landscape Supplies, where one of our experienced staff can run you through everything you need to transform your outdoor area.
A big thanks to Lutum Pavers for providing the info and images for this article.
Related Products.
Expert advice from the Newton’s crew, ask away.
Copyright © 2022 Newtons Building & Landscape Supplies all rights reserved | Term & Conditions | Privacy Policy
Newtons Building and Landscape Supplies has a huge range of products for tradies, builders, and DIY enthusiasts. From sand, metal, and rubble to cement products and masonry blocks, we have everything you need for your building or renovation project.
Discover the benefits of Hebel, the high performance building product made from Autoclaved Aerated Concrete (AAC). Newtons Building and Landscape Supplies are proud to stock Australia’s only manufacturer of AAC by CSR Hebel. Experience the durability and versatility of Hebel blocks and panels for your next construction project.
Newtons Building and Landscape Supplies is your one-stop-shop for irrigation needs. Our range includes rural and domestic irrigation products and systems, poly pipe, sprinklers, valves, irrigation controllers, poly fittings, and more.
Newtons Building and Landscape Supplies have a huge range of landscape garden supplies available. From mulches and ground covers, fertiliser, turf to compost, soil and loam, we have it all. With over 6000 products so you can be sure that we have everything you need to build the perfect home and garden.
From patio pavers to garden edging, Newtons Building & Landscape Supplies has you covered. Our Adelaide paving centre offers a massive range of products, including modern and traditional sleepers for retaining walls and more.
Newtons Building and Landscape Supplies has everything you need for rainwater tanks, pumps, pump repairs, and drainage solutions. We sell top brands like Maxiplas, Amari, Bushmans, Team Poly, and more. Our expert staff can help you choose the right product for your needs. We also offer custom-engineered sump and pump packages for hassle-free installation.
Explore the best professional-grade tools and safety equipment at Newtons Building and Landscape Supplies. We stock a wide range of high-quality tools and safety equipment for professionals and DIY enthusiasts. With specialised tools for bricklaying, concreting, landscaping, plastering, and tiling, we have the right tool for every job.
hop the best artificial turf, instant lawn, and fertiliser supplies at Newtons Building and Landscape Supplies. Our range includes a variety of options to suit your needs, from natural-looking synthetic grass to lush, green instant turf. We also stock a range of accessories to make installation a breeze.
Looking for purified water in your home? Newtons Building and Landscape Supplies offer a range of water filter systems to suit your needs. Choose from undersink filter systems that turn your existing tap into a filter tap or whole house systems for chemical-free water throughout your home.

Looking to fill up your garden shed but not sure where to start? We’ve compiled a list of five essential tools you’ll need for your